If you just want to play with a Rubik’s Cube, you can simply buy one from a local toy store. If you want to build one, you could 3D print something and put it together yourself. But what if you want to make lots of Rubik’s Cubes? Then, you might go down the road that [EngBroken] just walked.
What started as a fun reverse-engineering project would lead to an 8-month journey to reproduce Rubik’s Cubes from scratch using injection molding. [EngBroken] started by identifying the basic pieces that make up the cheap cube they bought, including the center core, the edge pieces, and the corner pieces. Parts were then recreated in CAD, and [EngBroken] then set about designing and milling injection molds out of 6061 aluminium to make the parts.
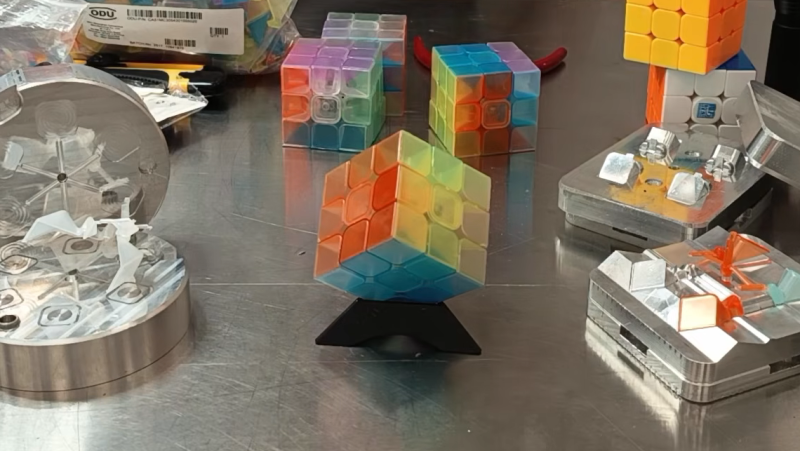
Amusingly, to get the correct colors for the separate parts of the cube, [EngBroken] made the curious decision to mix cut-up pieces of 3D printer filament with clear ABS pellets to tint it as needed. Parts were then assembled with UV-curing glue, and [EngBroken] had a Rubik’s cube built from scratch. Well he actually had several, since he had a stack of parts since injection molding is great at producing things in quantity.
This isn’t a great way to go if you want a Rubik’s cube on the cheap. [EngBroken] estimates the labor put in to this exercise came out to $56,000 alone, to say nothing of what it took to produce all those aluminium molds and source all that plastic. Still, a great deal was learned in the process. We’ve looked at the challenges of injection molding before, too.
[Thanks to Sailor Looking Meme for the tip!]